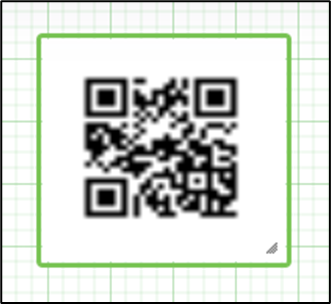
Description:
This widget generates a variety of barcodes from the provided item details.
Inputs
- FormID - name of widget generated by FlowWright (read-only field)
- Barcode Text - Provide sample barcode text here
- Select barcode type - Select any one barcode type from the drop-down list here
- Text location - Select the text location to be placed from the drop-down list here
- Barcode Height - Provide the required barcode height in pixels
- Barcode Width - Provide the required barcode width in pixels
- Hide - Select the checkbox to Hide (tick mark)
- Save button - Save the input values
- Delete button - Remove this form widget from the designer page
- Close button - Close the input popup window
Design:

Example:
Let’s build and execute the “BarcodeDef” example.
- Create a Form definition called “BarcodeDef.” Navigate to Forms > Definitions in the left pane to create it. On the Form Definitions page, select Actions > Create. If you don't have access to generate Form Definitions, check with your Flowwright administrator.

- Drag a "BootstrapGrid, Label, Barcode, and Submit” control onto the canvas and arrange them as shown below.

- Double-click the “Barcode” widget to configure the “Settings” properties. The application displays the control's name. Select the barcode type from the drop-down list. Specify the location where the text will be displayed. Enter the pixel values for the barcode's height and width. Enter the text to be represented as a barcode. Select the checkbox to hide the control at runtime. Click the Save button.

- Save the Form definition. Select Actions > Create Form Instance. Generate a new Form Instance, then select the check box to edit it. Check with your FlowWright administrator if you don't have access to generate Form Instances.

- The Form is rendered to the user as shown below. Scan the barcode to navigate to the website in this context.

Definition Sample:
You may download the sample definition(s) from the link provided and later import them (drag-and-drop) into your FlowWright Process Definition (XML file) or Form Definition (HTML file) page.
Note: Please verify and complete the process steps for any missing configurations, such as file path references and database connections, after the import. Then, save the definition to confirm the changes.
Click here to download the sample file.