Let's use the “moveFormData” step in the process definition to achieve this.
Let’s use the form definition “TestFormFile,” which looks as follows:

Let’s use the process definition “TestFormFileDef,” which looks as follows:

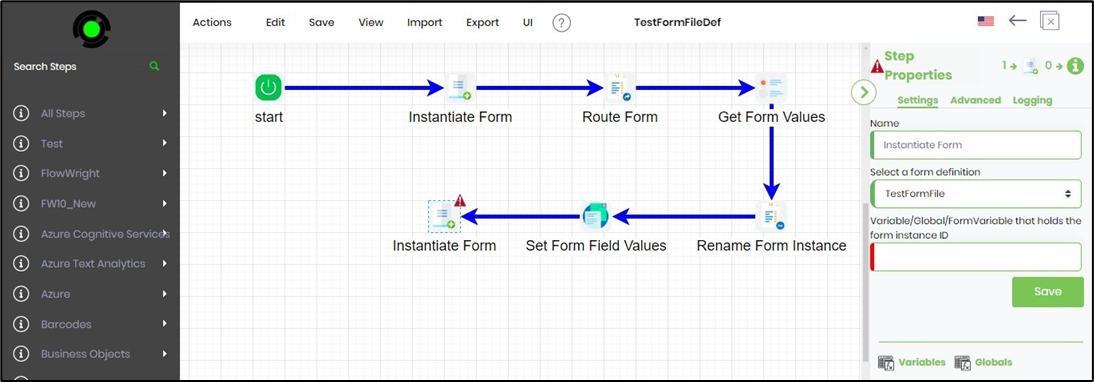
Let's drag the “InstantiateForm” step to the designer and connect to the last step of the process. The red alert sign indicates the step property configuration is incomplete. The context is to create a new form and then move the data from the earlier form to this new form within the process.
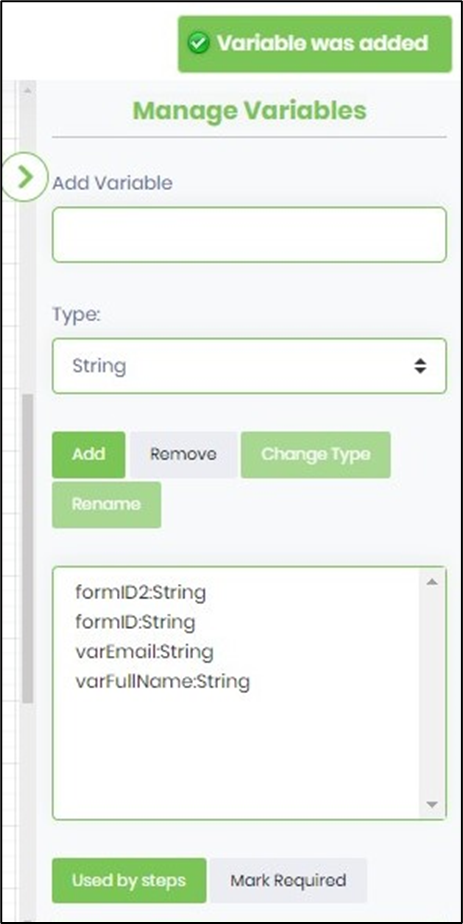
Add a new variable, formID2, to store the form Instance ID for the new form.
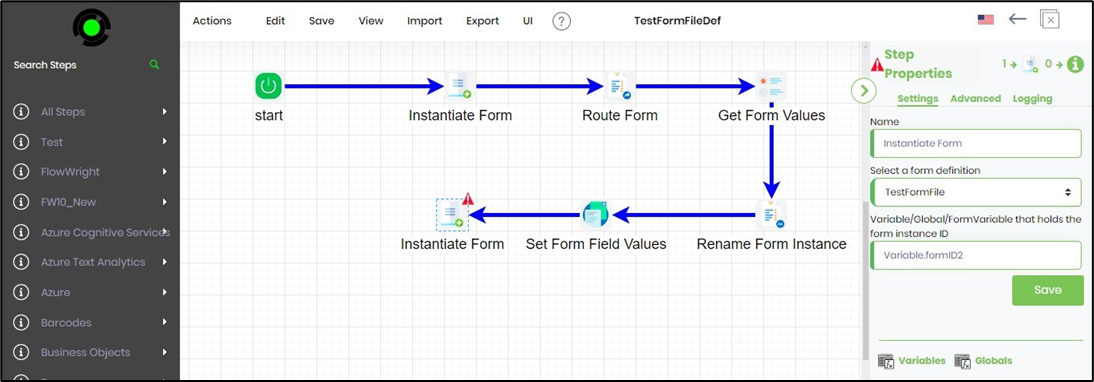
Click on the “InstantiateForm” step to configure the Settings properties. Provide the variable reference that holds the new form instance ID. Click on the Save button to confirm the configuration.
Click on the “InstantiateForm” step to configure the Advanced properties. Provide the name of the form instance as follows. Click on the Save button to confirm the configuration.

Let's drag the “moveFormData” step to the designer and connect to the last step of the process. The red alert sign indicates the step property configuration is incomplete. The context is to move the form data from the earlier instance to the new example within the process.
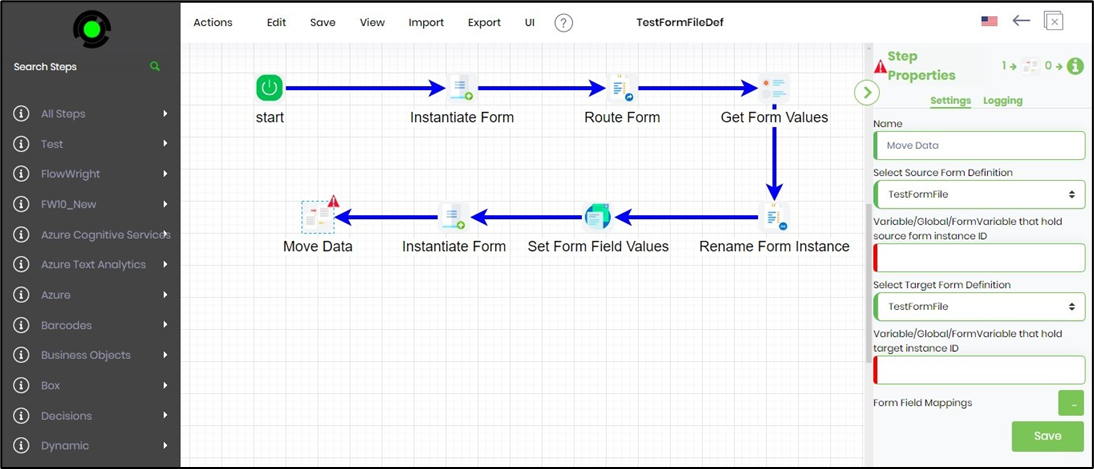
Click on the “InstantiateForm” step to configure the Settings properties. Provide the variable reference containing the source and target form instance IDs. Click on the button to map the fields between the two form instances. Select the source and mapping target fields, as shown below. Click the Add Row (+) button to insert a blank row. Click on the Save button to confirm the configuration.
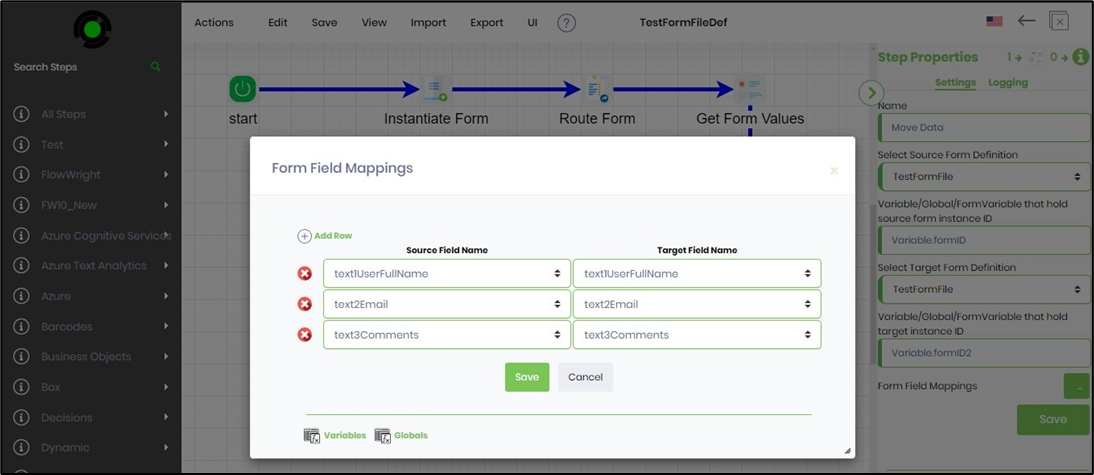
Save the changes to the step and the process definition.

Let’s generate and execute a new process instance to view the change to the form instance name and move the data from one form instance to another.

Then, you must navigate to the Engage—Tasks page, as shown below. Select the Instances search filter and select the process instance from the drop-down list. The incomplete task assigned to the user is shown below. You may also search for the task using the Search textbox. Click on the task to open.

When the form fill-up is complete, submit it. Note: The Comments textbox is left empty as it's read-only, and this field value is set within the process using the “setFormFieldValues” step.
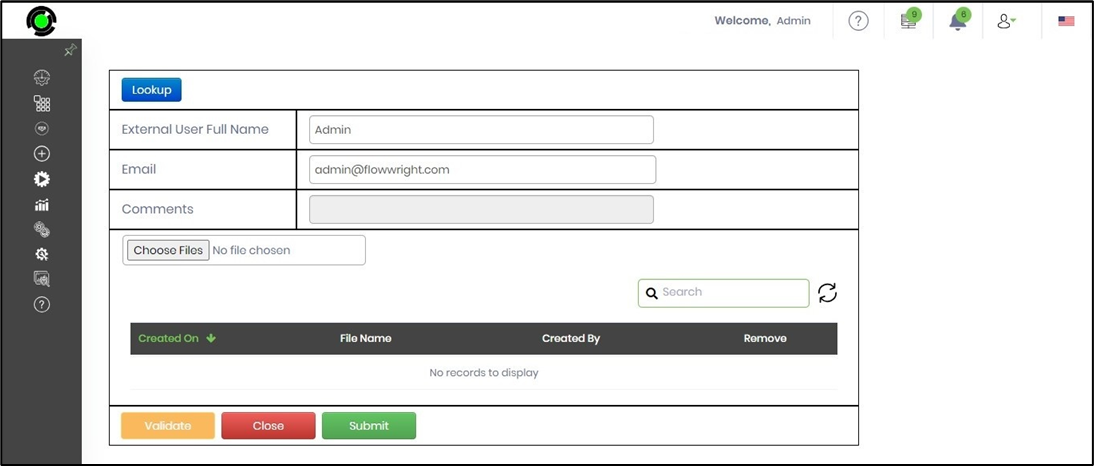
The following is the executed path for the process instance. To let you know, the process instance is complete.

You can navigate to the form instances to view the list of form instances by the name of the form definition. The list should contain the source and the target form instances, as shown below.

Select the target form instance and click the View - Render menu option to view the form values.

The form instance is rendered on a new page, and as observed, the form elements, layout, and values are similar to the source form. The form data is moved from the source to the target form.
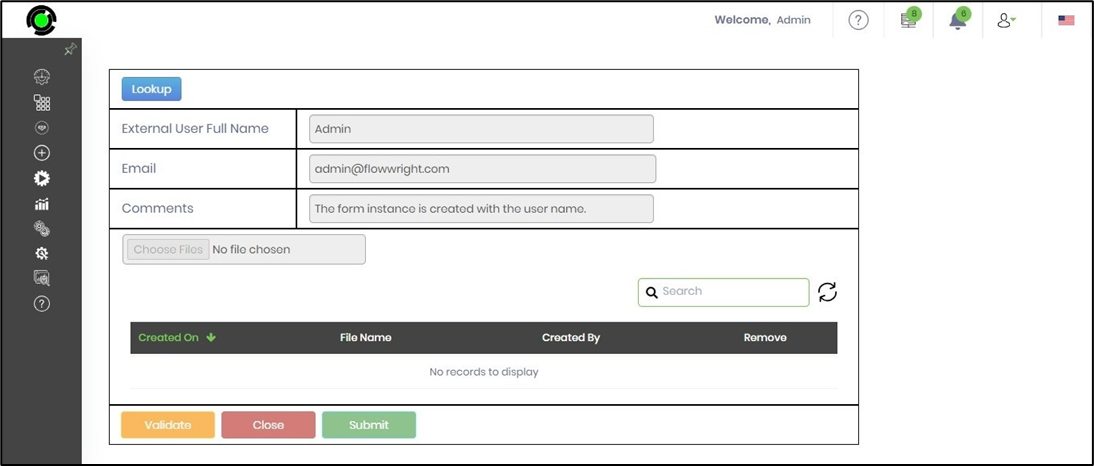
Note: The file attachments must be moved using the “getFileAttachments” and “addFormFileAttachments” process steps.