The Forms designer has four UI parts: the toolbox on the left, the menu at the top, the design canvas in the middle, and the properties pop-up window for each form control, accessible via Edit or Double-Click.
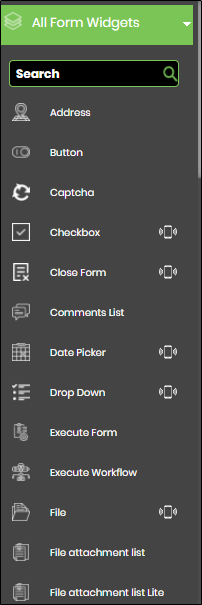
The Form toolbox contains the following list of controls: (only a partial list is shown)
To add a control to the design canvas, drag it from the toolbox and drop it onto the canvas.
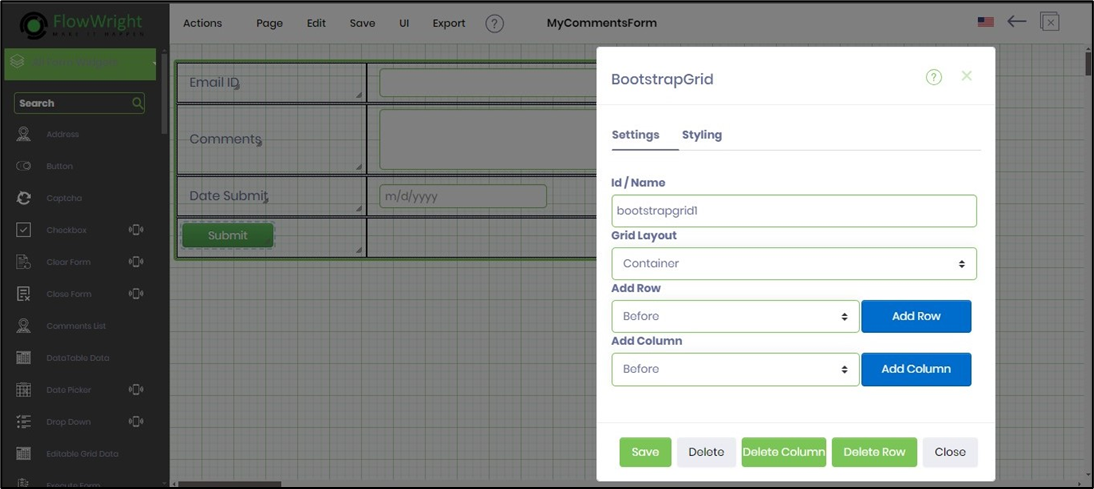
The properties window for each form widget is modal and is organised into four logical sections: Settings, Conditions, Styling, and ToolTip.
Let’s drag the “bootstrapgrid, textbox, fileattach, lookup, submit, and approval controls” onto the Form Designer and arrange them as shown in the example below.

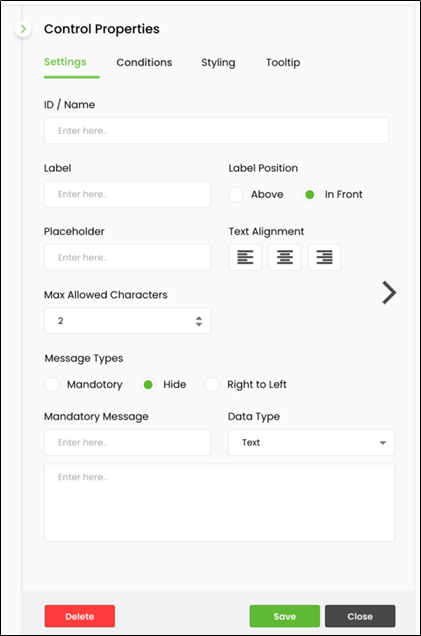
Form control properties are displayed in a pop-up window for configuration. Double-click the text box to view its properties. The text box has the following properties. Provide a name for the text box. Provide placeholder text to appear when the form is rendered. Select the data type for the input (numeric, currency, phone, email, SSN, text, password, regular expression, custom format). Select the checkbox to mark the text box as required, hidden, or read-only. Provide a value for the maximum number of characters for input. Click the Save button to confirm changes. Click the Close button to close the dialog without saving the changes. Click the Delete button to remove the control from the design canvas.

Click the Help (?) icon to view the PDF Help document for the Form Widget control.
Use the Save - Save menu option (or Ctrl + S) to save the changes.
Users can also apply styles to the controls by specifying the style as shown below:

The Form ID and the controls are highlighted on the designer page when the mouse hovers over them.

When you change the Form’s “ControlID or Name,” you see an alert notification as shown in the example below. This occurs when the Form is linked to a data table that contains existing data. Note: Select “Ok” to change the “ControlID or Name” if necessary. Doing so results in the loss of data in that column of the data table.
