Description:
Use this widget to scan the product's QR code and show the value in a text field.
Inputs
- ID/Name - Name of the widget generated by FlowWright
- Scan button label - Provide text for the button label
- Field to store scanned text - Provide a reference to the text field
- Hide - Select the checkbox to hide (tick mark)
- Lock Widget - Click the button to toggle the lock/unlock feature
- Read Only - Select the checkbox to Read-Only (tick mark)
- Save - Save the input values
- Delete - Remove this form widget from the designer page
- Close - Close the input popup window
Design:
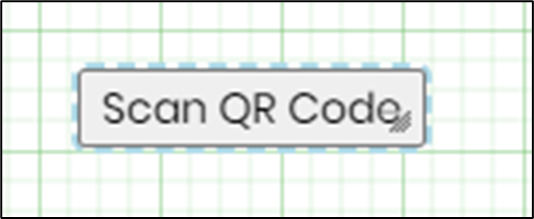
Typical Workflow Suggestions:
The following are five potential use cases based on the widget's name. They assume QR-code scanning is supported by the runtime implementation and should be validated before being presented as confirmed FlowWright functionality.
Inventory Management
Consider using the widget in an inventory form to scan QR codes associated with inventory items. If the decoded values are exposed, you could use them to identify items for subsequent processing.
Asset Registration
Evaluate the widget for an asset registration form where QR codes identify equipment or other registered assets.
Document Retrieval
Consider a form that scans a QR code containing a document reference. If the widget exposes the decoded value, the workflow could use that reference to locate a document through separately configured functionality.
Visitor Check-In
Evaluate the widget for visitor check-in forms where QR codes represent visitor passes or registration references.
Service Request Processing
Consider a service request form that scans a QR code associated with a device or product. The resulting reference could help the workflow identify the subject of the request if the scanning output is available.
Example:
Let’s build and execute the “QRCodeScannerDef” example.
- Create a new Form Definition called “QRCodeScannerDef.”
- Drag the “BootstrapGrid, Table, Label, QRCodeScanner, Textbox, and Submit” controls onto the canvas and arrange them as shown below.

- Select the “QRCodeScanner” control. Press and drag the bottom-end wedge to expand its area. Double-click inside this area to configure the inputs, as shown in the graphic below. Enter the control's name. Enter the label text for the button. Enter a text field reference to store the scanned text at runtime. Select the “Hide” checkbox to hide this widget at runtime. Select the “Read Only” checkbox to disable the button click, if necessary. Click the “Lock Widget” button to toggle the lock/unlock feature and prevent accidental configuration changes. Click the “Save” button.

- Double-click the widget to open the “Styling” tab. Enter CSS to enhance the style—the border is emphasized with a 5px solid red color, as shown below. Select the class options from the drop-down list to apply to HTML elements. Click the “Lock Widget” button to toggle the lock/unlock feature and prevent accidental configuration changes. Click the “Save” button.

- Double-click the widget to configure the “Other” tab. Then, enter the text to be rendered as a tooltip.

- Save the Form definition. Select Actions > Create Form Instance. Generate a new form instance, then check the box to edit it.

- The Form appears on a new page as shown below. Click the “Scan QR Code” button.

- Click the "Request Camera Permissions" button.

- A pop-up alert asks for permission to access the device’s camera. Click the “Allow” button to give permission.

- The Form is provided for user input, with the device camera enabled (ignore the image; it's for representation). Hold the product QR code in front of the camera to scan it.

- Paste the scanned QR code into the text field.

Globalize:
Navigate to Administration > Globalization > Global tab. Select the Dynamic resource group. In the search box, enter “Camera”. The table filters resource items related to “QRCodeScanner”. Select the secondary culture “fi-FI” from the drop-down list to globalize the control into Finnish. Select the resource item from the table, then click Translate > Azure > Resource. The resource item is translated into Finnish. Click Save Changes.
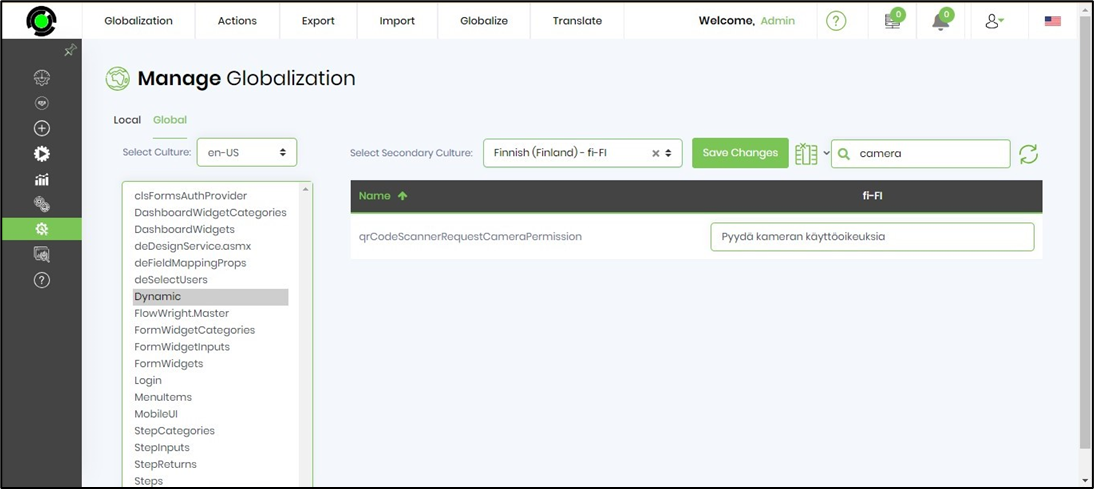
Navigate to the Administration > Globalization page. Select the /FormDefinitions/Designer resource group. Search for “Scan” in the search box. The table filters the resource items related to QRCodeScanner.

Select the secondary culture “fi-FI” from the drop-down list to enable Finnish control. Choose the resource item from the table, then click Translate > Azure > Resource. The resource item will be translated into Finnish. Click the Save button.

The Form control UI elements are now available in Finnish when the page culture is set at runtime.

Tips:
- Test multiple QR codes: Use valid test codes containing different types of representative content.
- Verify device compatibility: If camera scanning is supported, test it in the organization's browsers and devices.
- Check permissions: Determine whether camera permissions or other browser permissions are required.
- Validate decoded values: If the widget returns content, test how empty, malformed, or unexpected values are handled.
- Test the complete process: Verify that any scanned value is retained and available where the workflow requires it.
Definition Sample:
You may download and extract the sample definition(s) from the link provided and later import them (drag-and-drop) into your FlowWright Process Definition (XML file) or Form Definition (HTML file) page.
Note: After the import, verify and complete any missing configuration steps, such as file path references and database connections. Then, save the definition to confirm the changes.