FlowWright's process designer is a fully graphical web-based designer for designing workflow definitions. The process designer is built using the latest technologies such as HTML5 for powerful features and performance. The new version of FlowWright completely changed the underlying graphics library to provide many new enhancements and features.
So, what are the workflow designer tips:
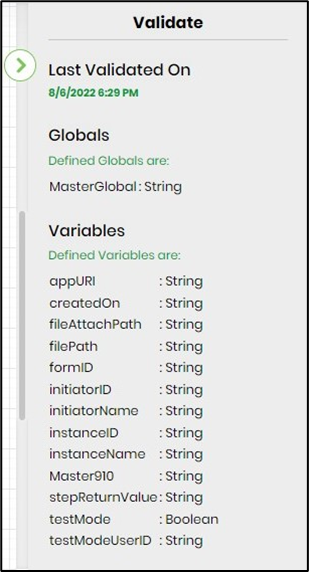
- Save the workflow OR navigate to the Action - Validate menu option. The system displays the last saved date and time.
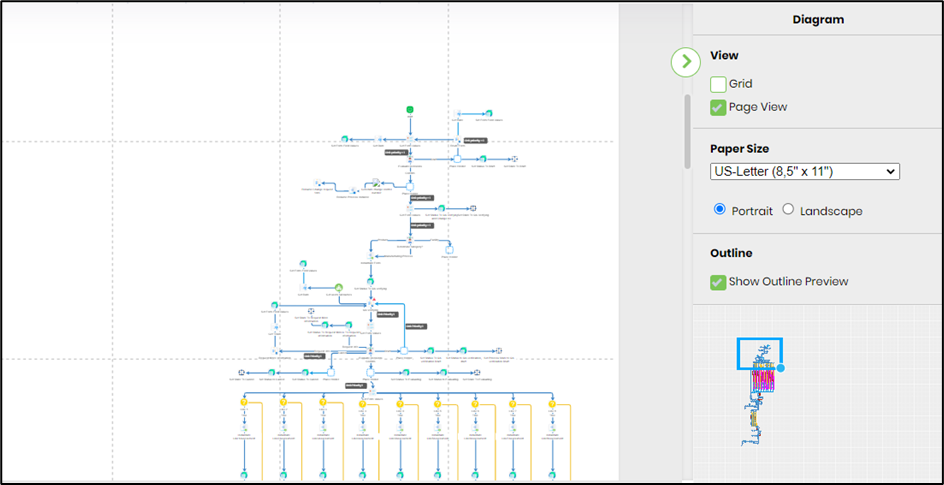
- Click the mouse right-click button and hold it down, then move the mouse to move PAN the design within the designer. If you click on the designer, you will also see a boxed PAN window within the properties windows, as shown below:
Workflow Designer PAN feature
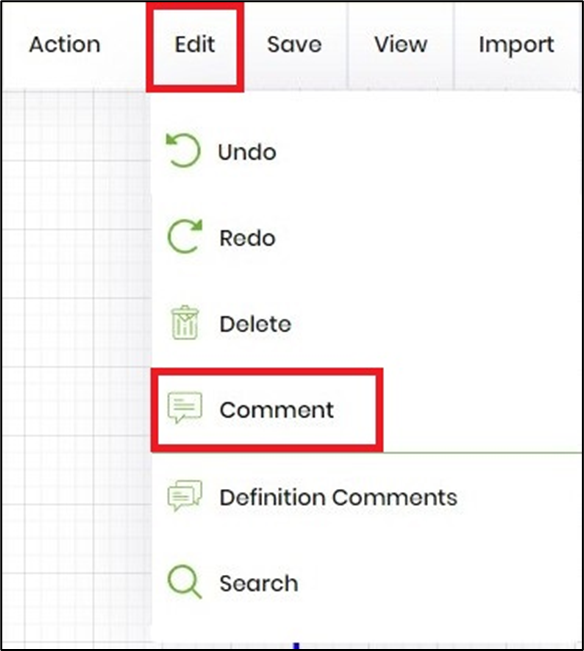
- Document parts of your workflow design using inline comments. Just drag and drop comments from the toolbar into the designer canvas.
Inline comment toolbar
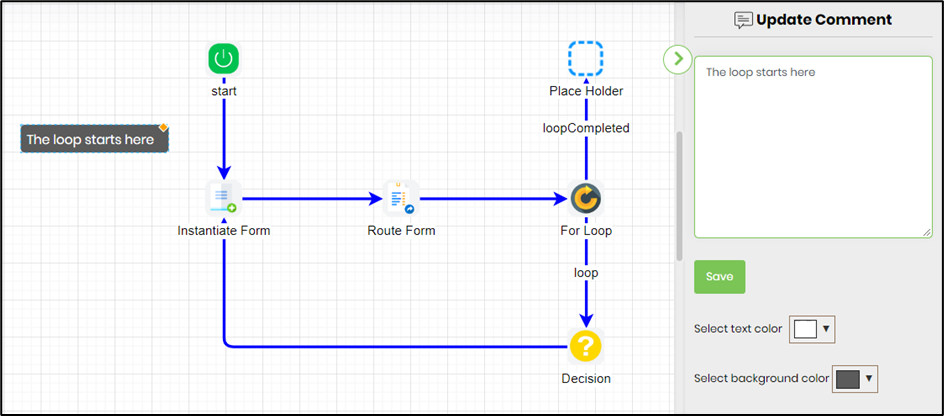
- Once dropped, click on the comments and change the comment text. The comment will look as follows:
Inline comments displayed within the workflow designer
- The comments can be viewed as navigable links as follows. On click the workflow aligns to the comment selected.
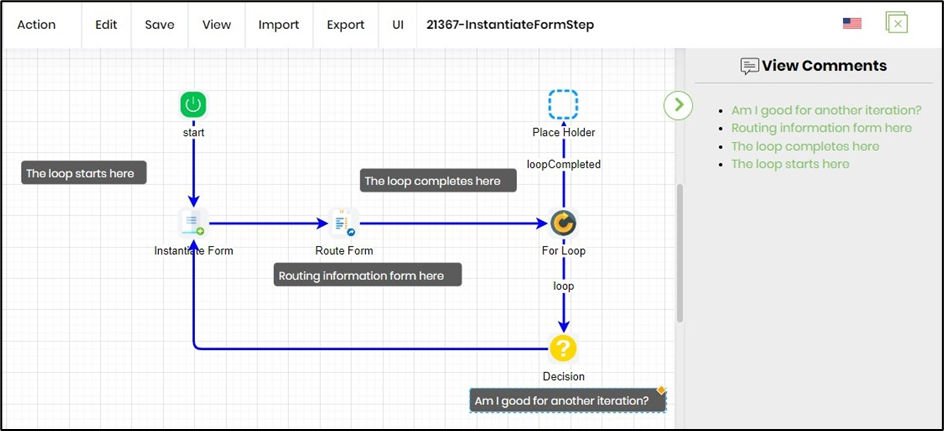
- Sort the toolbox categories (on the left) on the designer page using the View menu option as shown here.
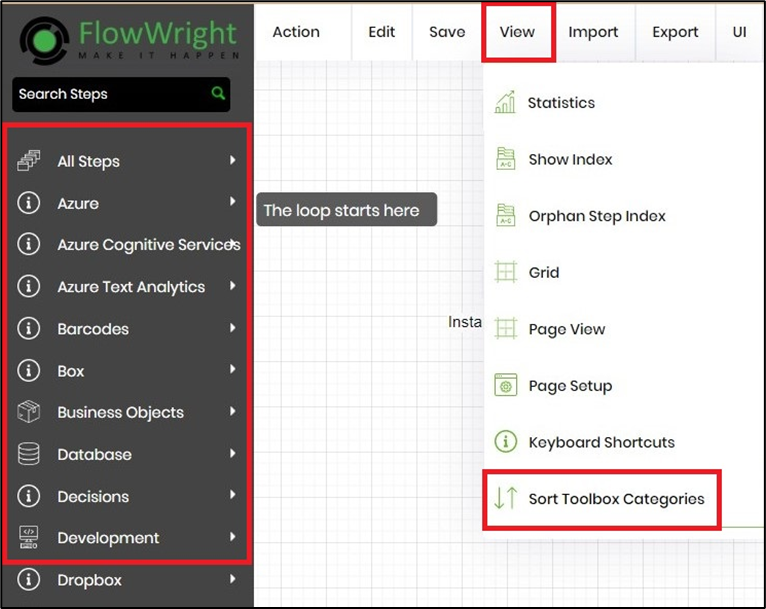
- Hover over a step, the step will show 4 arrows around the step, drag them to connect, or click on them and it will automatically make a copy of the current step and place it in the direction it was clicked and connect the new step to the original step.
Workflow step with arrows

- Newly created step connected to the original step
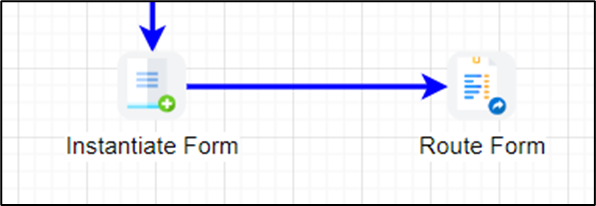
- Add a step to the canvas, fill in its properties, and make a template out of the step for future use.
Create a template step from an existing step
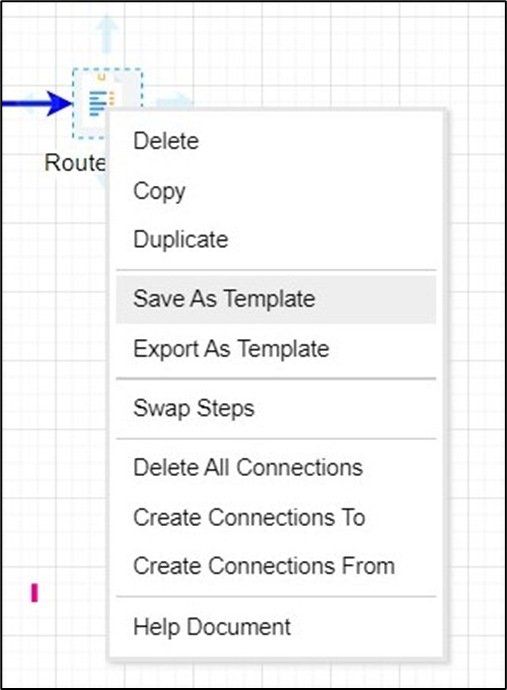
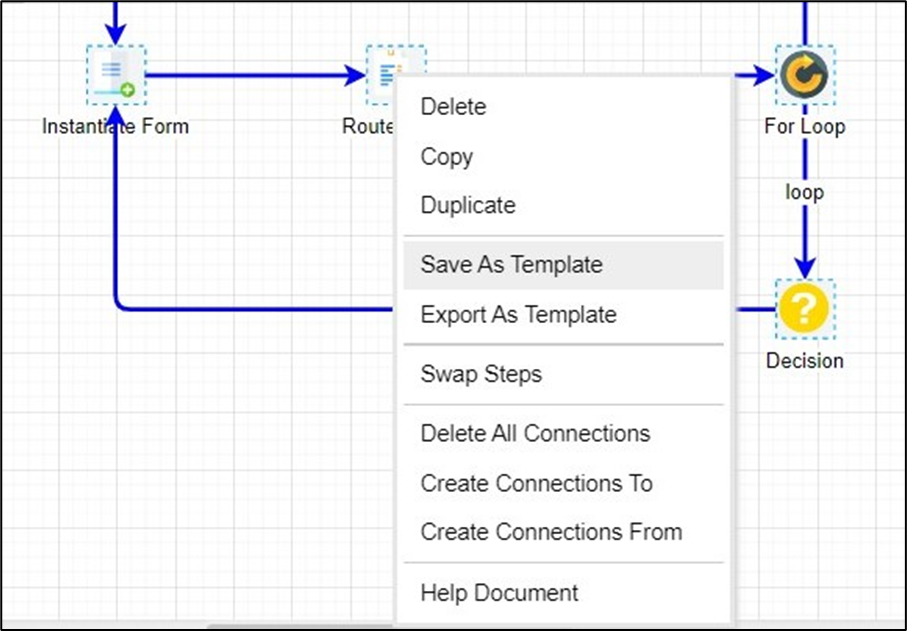
- Create a template from a bunch of steps and connections. Select the steps and connection, right-click for the context menu, and create a template. Give a custom name for the template steps.
Create a template using multiple steps and connections
- Search on the design page by the step names or comments. The search results can be viewed as navigable links as follows. On clicking the workflow aligns to the search items selected. Click on Clear Selection to remove the search result.

- Take a snapshot of the workflow definition before changing, you can easily do that using the toolbar button:
Take a snapshot of the workflow definition
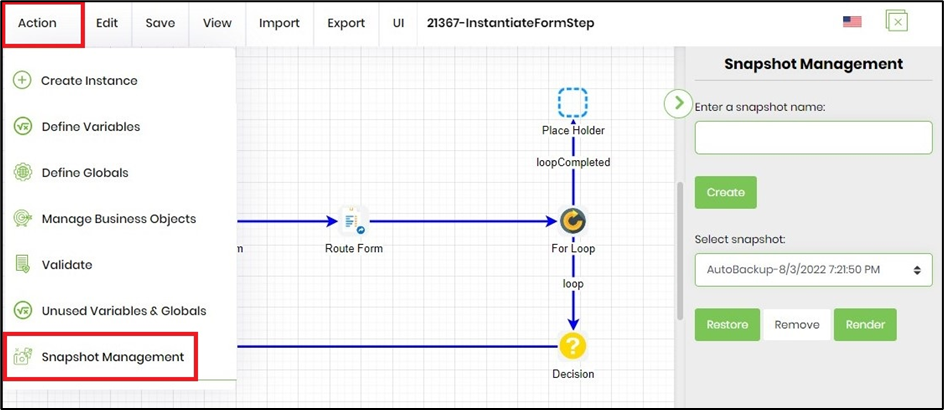
- Later, you can also restore a previously created snapshot, also more advanced snapshot functionality gives snapshot comparison.
- For faster operations, don't forget to use the standard keystrokes
- The workflow designer prevents self-connections of any workflow step.
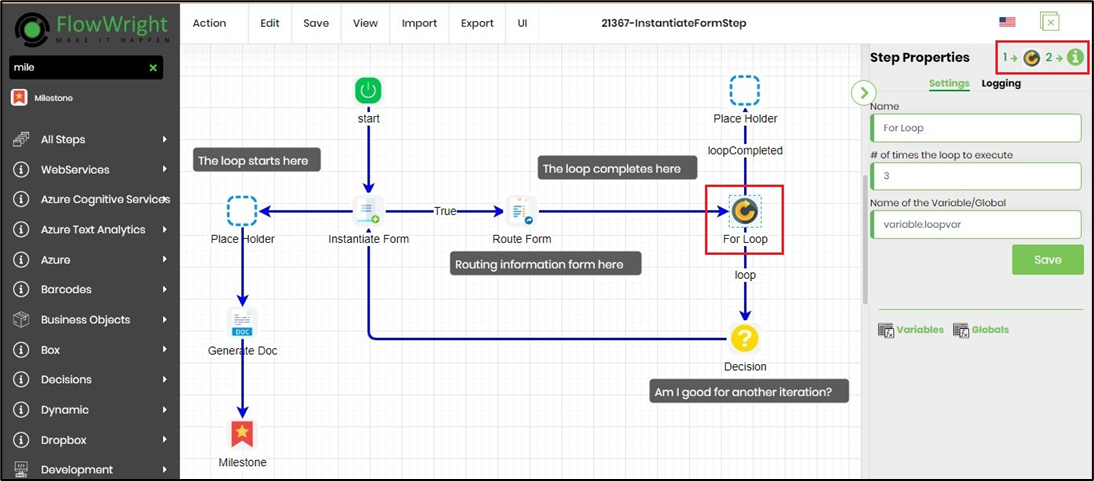
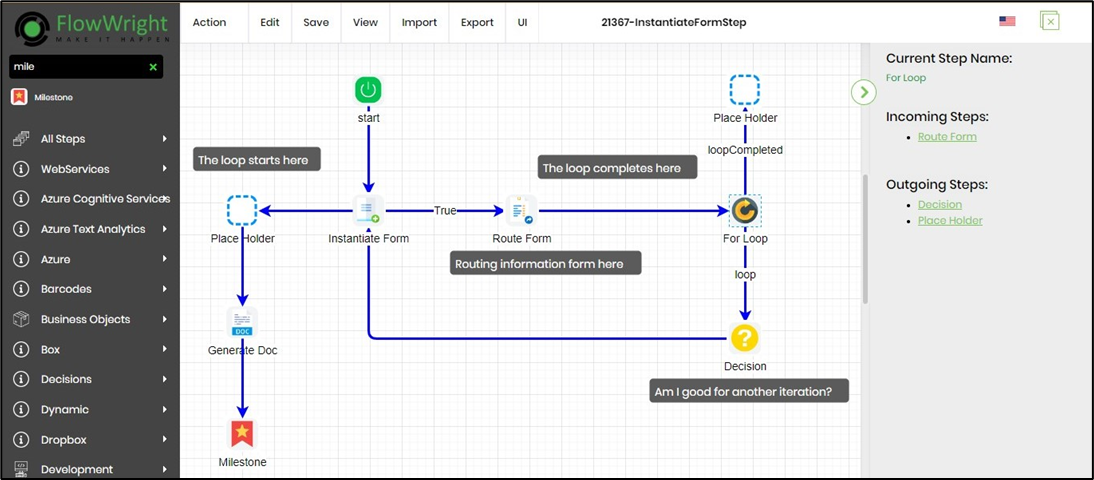
- Select a process step on the workflow and check on the input and output connections to the step. Click on the number displayed in the right frame top right corner.
The incoming and outgoing steps are displayed in the right frame click on the step URL link to navigate to the process design.
The View - Recent Steps menu item provides a UI to understand the last 10 steps added/modified to the process definition.
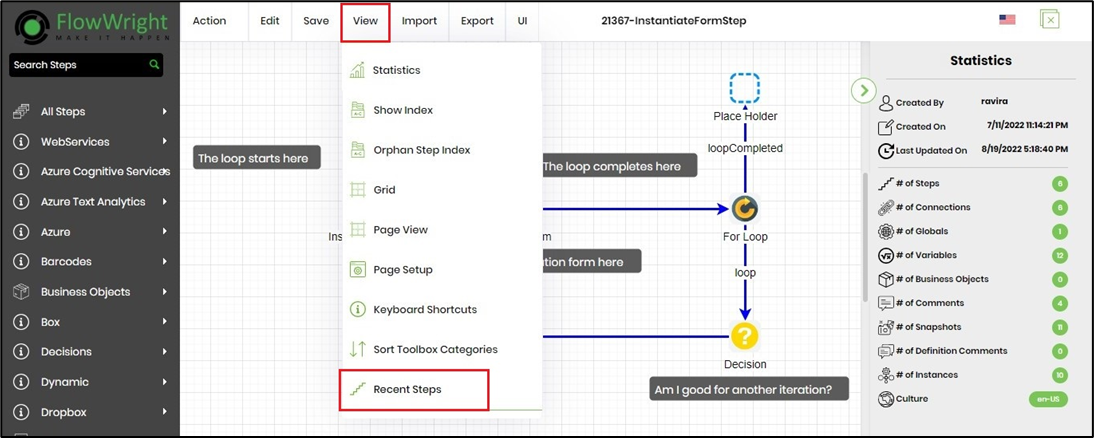
Click on the URL link to navigate to the process design.

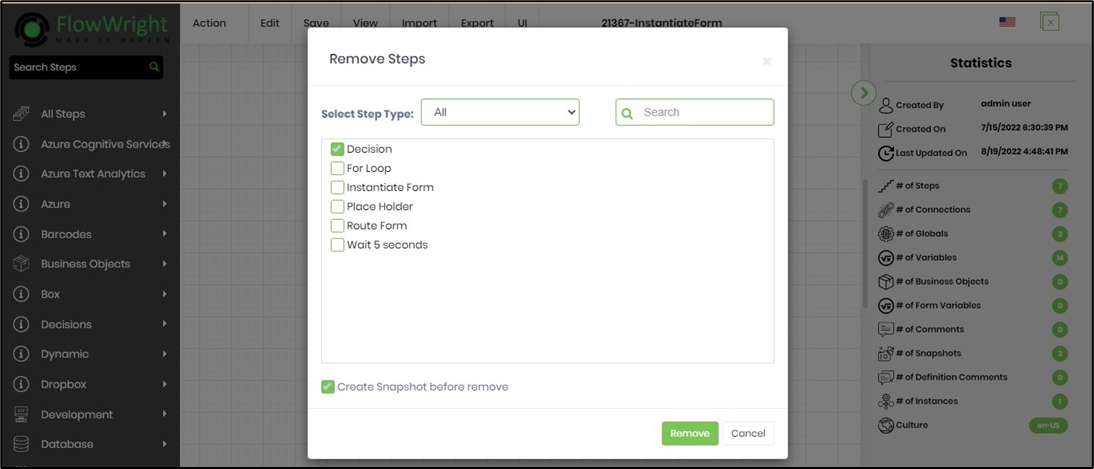
The Edit - Remove Steps menu item provides a UI to remove multiple steps and also create a snapshot before making changes to the process designer
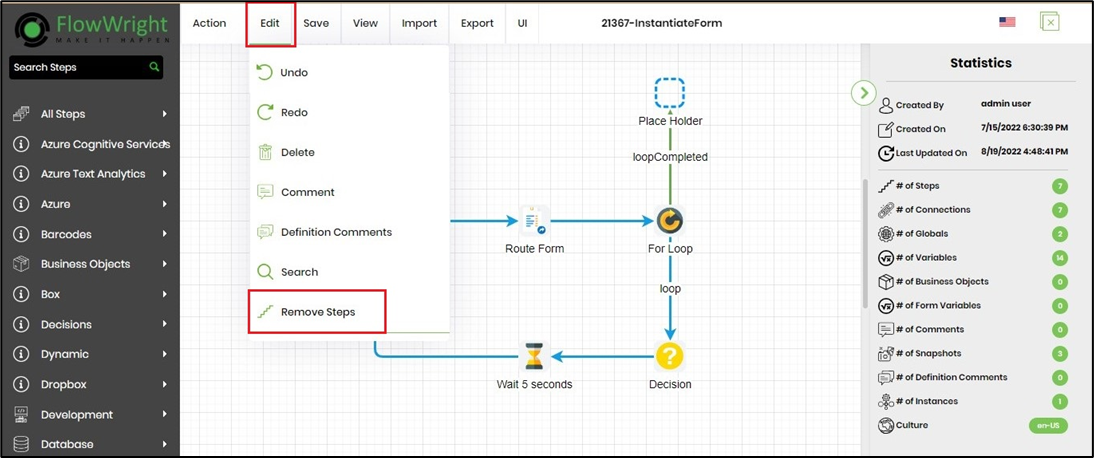
Select the steps by using the check box and always create a snapshot before making changes to the process design.
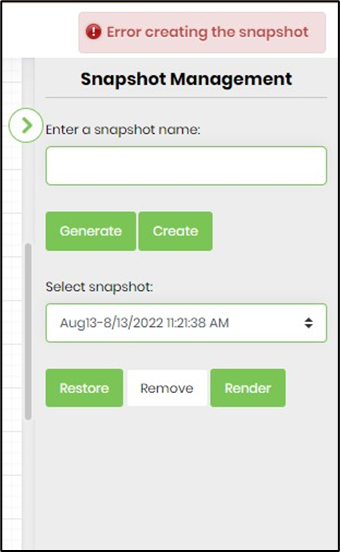
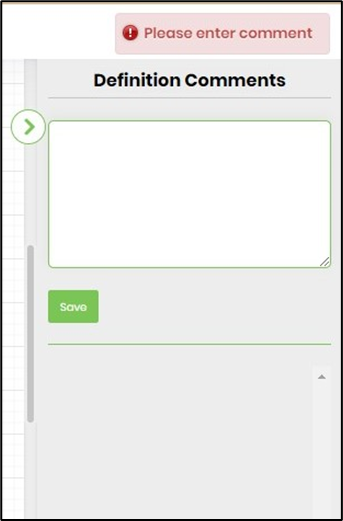
The process designer properties now show notifications instead of messages during configuration as shown below.
 |
 |
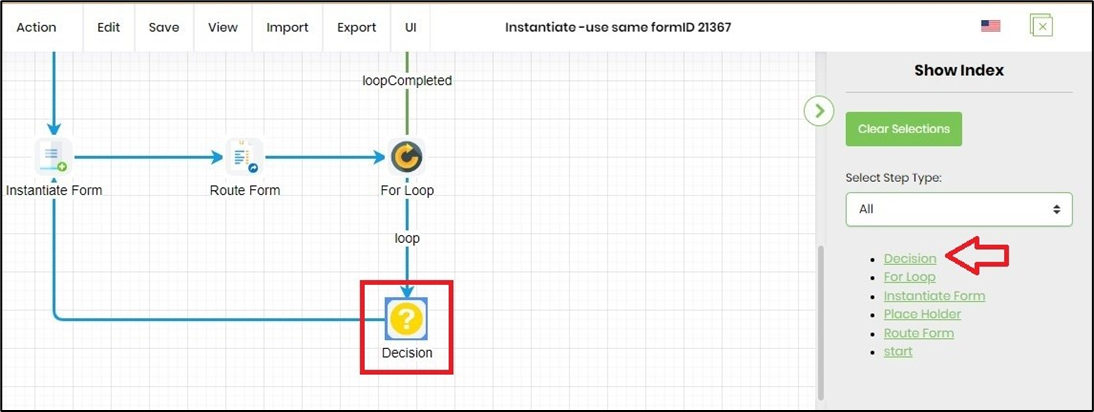
The process designer Step Index shows the step types ordered by name and also a dropdown filter to select the same.

On selecting a step index the process designer navigates and highlights the step to view.
Above are some of the features that make the FlowWright workflow designer easy to use for automating processes. The latest designer is built around performance. Large workflows need high performance, and given that it's all running inside a web browser, FlowWright outperforms most workflow designers on the market.