Description:
Set PDF form field values
Usage :
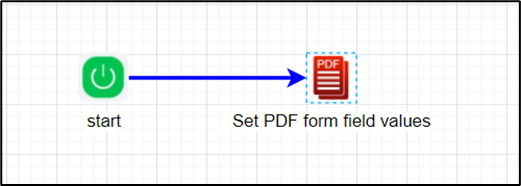
Example:
Let’s build and execute the setpdfformfieldsDef example.
- Create a new definition called “setpdfformfieldsDef”
- Select the definition and click the “design” button
- Drag a setpdfformfields step from the toolbox
- Connect the dots between the start and setpdfformfields step
- Click on the “setpdfformfields” step to configure its properties
- Click on the "PDF Form file" field icon. Upload the PDF file as shown on the below graphic.
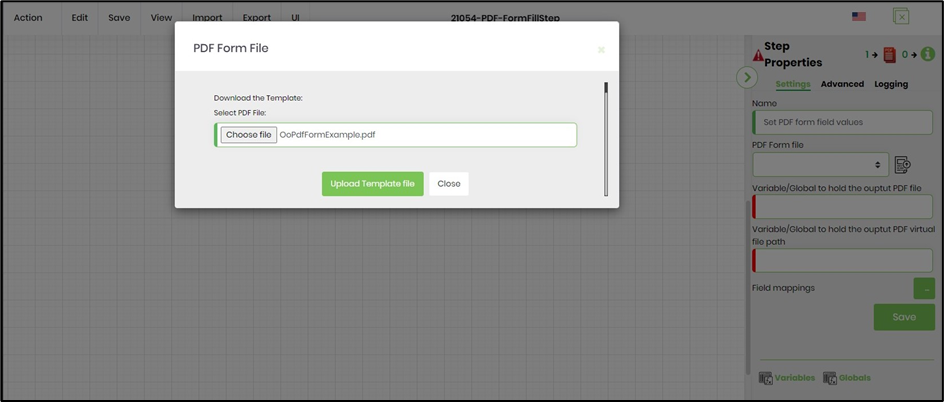
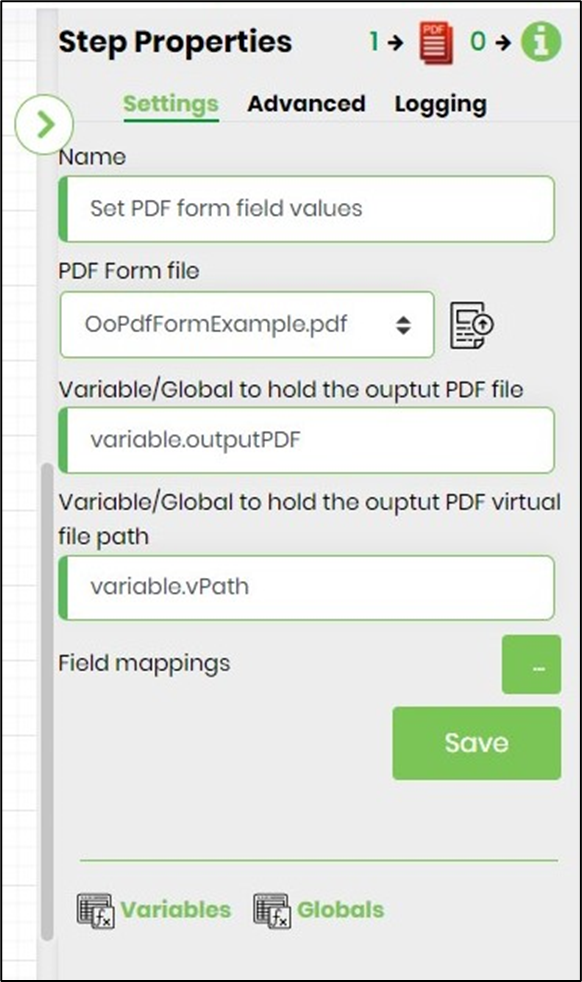
- Configure the "Step Properties" as shown on the below graphic.
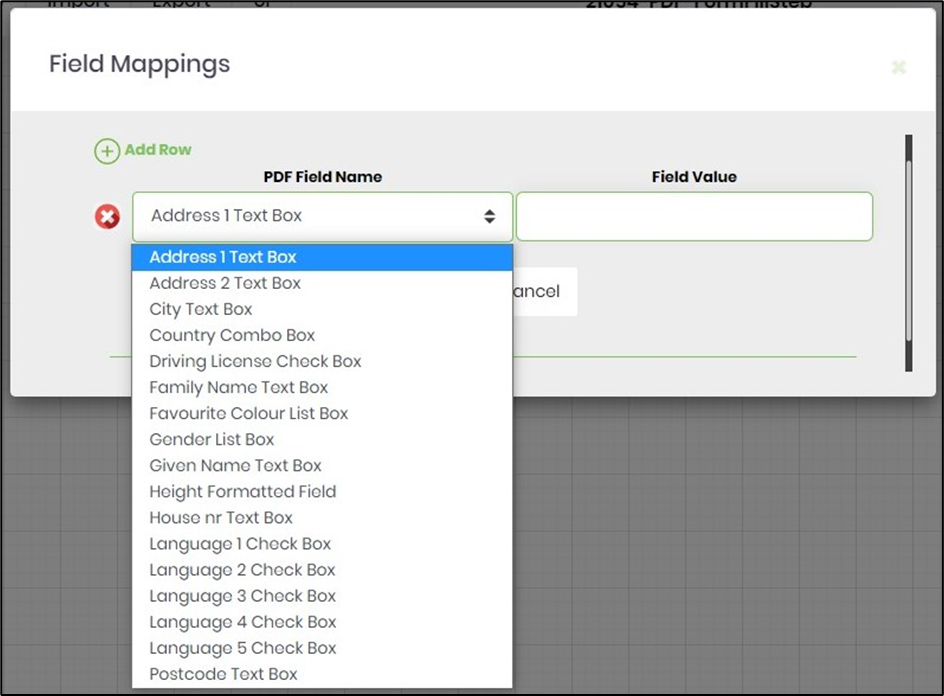
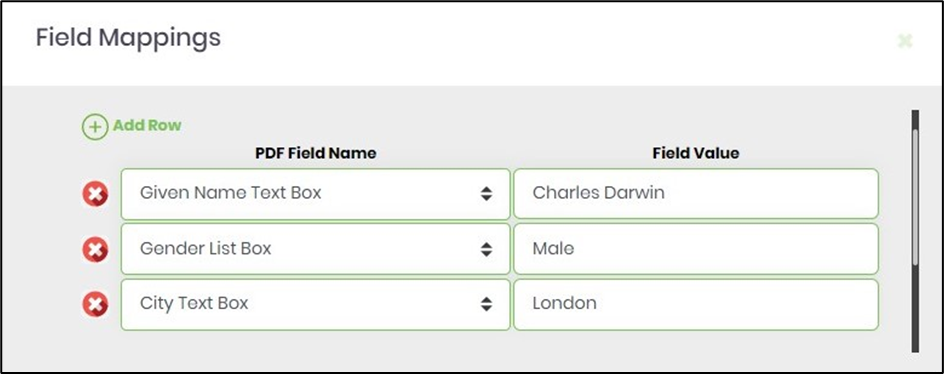
- Click on the "Field mappings" button to map the field names from the PDF file with values in the popup window. The fields from the PDF file are listed alphabetically in the dropdown as shown on the below graphic. Select a field name and input the value in the adjacent text box. Click on "+ Add Row" button to include more field mappings.
- The "Field Mappings" when complete, shall resemble something like the below graphic. Click on SAVE to confirm the changes.
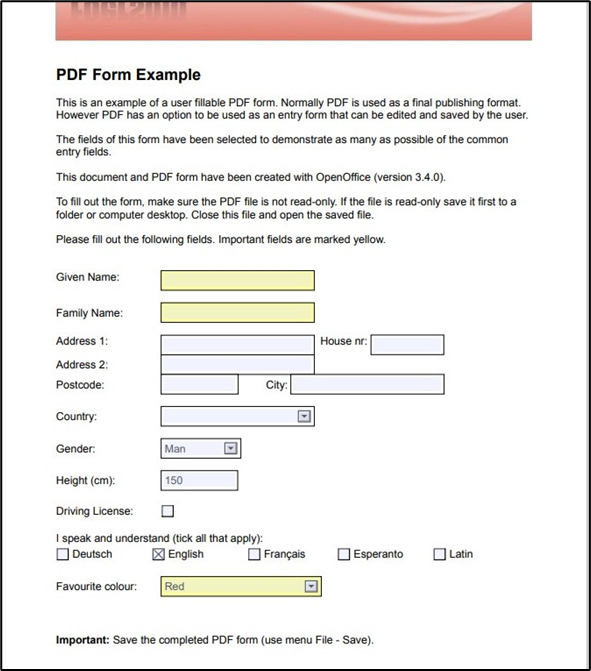
- The PDF file used in this example contains the following field structure (for reference).
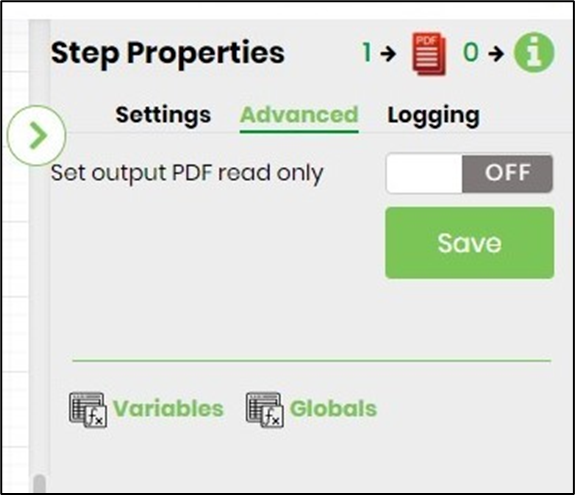
- Select the "Advance Properties" tab. Here, the output PDF can be configured as "read only" file using ON setting. The output file is generated and stored on the server path after the process instance completes successfully. The PDF file path information are stored in the variables referred above. By viewing the output file, we notice, only the fields which were mapped to the values are rendered as "read only". Using the OFF setting, the output PDF file is generated with all fields in the "edit mode".
- Save the process definition, create a new process instance and execute. The step should map the PDF form fields with the values as configured on the step properties and generate the output file.
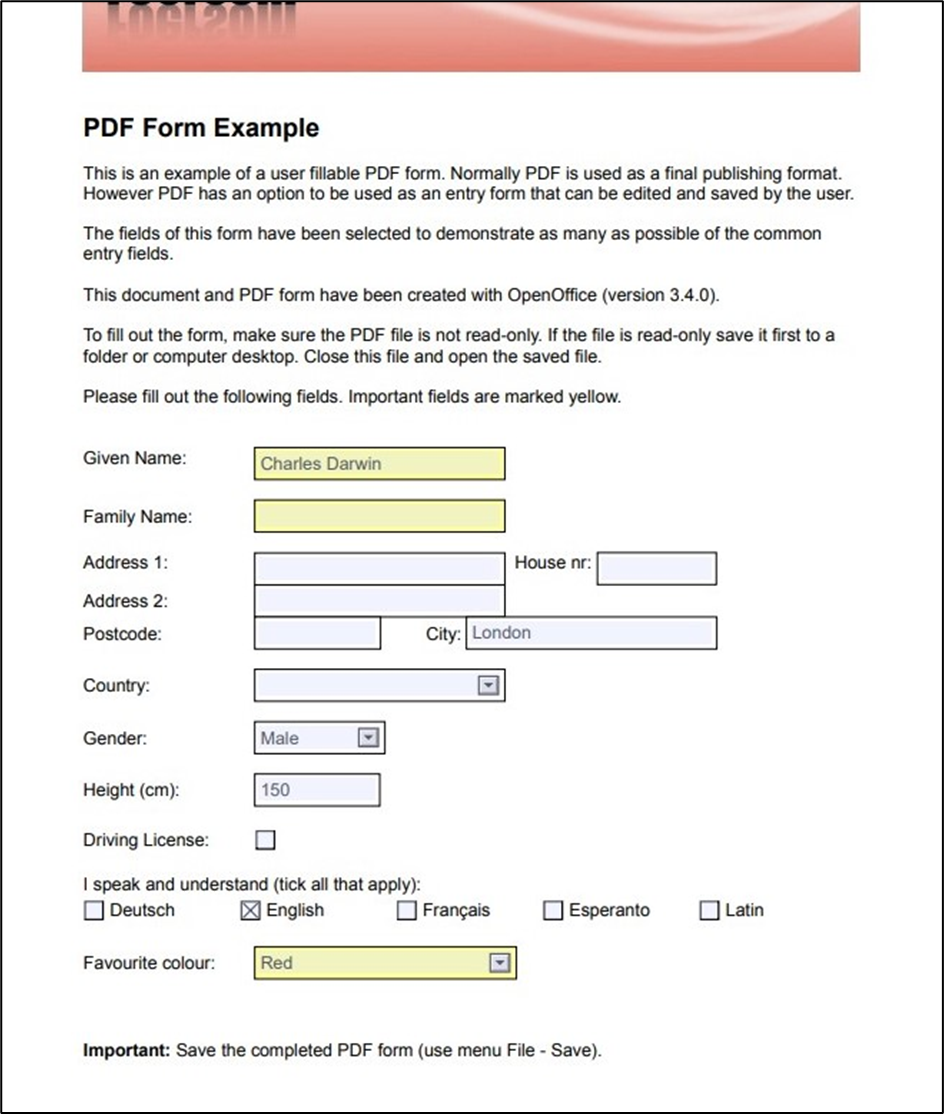
- The output PDF file generated by this example contains the following field values (for reference).
Configure:
This workflow step requires a manual configuration (alongwith its data type). As an admin user, navigate to Administration - Data Types - Auto Detect menu option. Select the data types related to this step and configure them to your FlowWright environment, as shown in the below graphic.

As an admin user, navigate to Administration - Steps - Auto Detect menu option. Select the step and configure this to your FlowWright environment, as shown in the below graphic.
